Ultimate BIOS Guide: Every Setting Decrypted and Explained!
Overclocking
If you're going to overclock, you first must understand the nomenclature that applies to your processor and motherboard chipset's architecture. To help you do this, we rounded up three different motherboards each one based on a different, recent architecture.
Check out our Core 2 Overclocking Guide here
Intel P45 Chipset
The settings below also apply to Intel's X38 and X48 chipsets, and in some form even date back several generations. We used an Asus Formula Maximus II for this section.
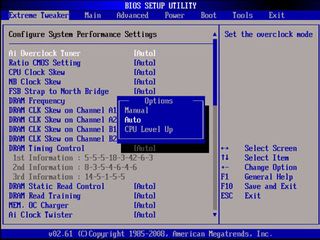
Ai Overclock Tuner: Many enthusiast motherboards come with some form of automatic overclocking, and Asus calls its version the Ai Overclock Tuner.
Manual: Just as it says, choose this option if you plan to manually overclock your system.
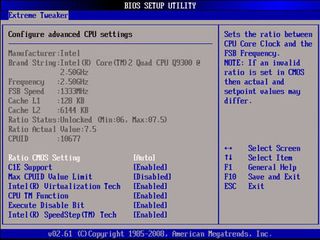
Ratio CMOS Setting: Also known as the CPU clock ratio or, more commonly, the CPU multiplier, you'll find this setting on both AMD and Intel processors. The multiplier measures the ratio of an internal CPU clock rate to an externally supplied clock often called the frontside bus and is used to determine your CPU's clockspeed. For example, an E8400 processor ships with a 9X multiplier and a 333MHz base clockspeed. Multiplied together, you arrive at 3.0GHz (3,000MHz). Intel locks the multiplier on all but its Extreme Edition CPUs, which prevents end-users from increasing the multiplier, but not from decreasing it.
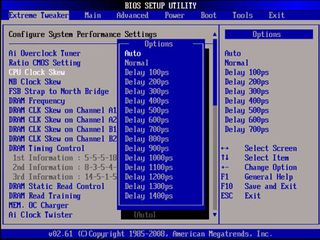
CPU Clock Skew: At the blistering speed that today's components operate at, timing issues can rear their ugly heads when trying to communicate with each other and result in instability, particularly when overclocking. To keep the different parts working in sync, some motherboards -- such as this one -- allow you to introduce tiny delays in different subsystems of your PC. In this case, you're 'skewing' the speed of the CPU clock as measured in picoseconds (ps), or one trillionth of a second.
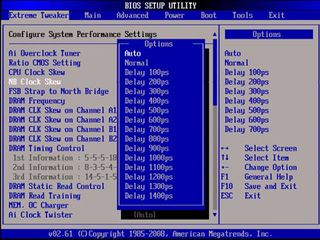
NB Clock Skew: Allows you to introduce a delay to the Northbridge controller.
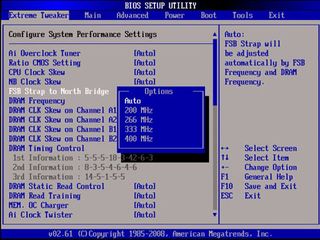
FSB Strap to North Bridge: This setting determines what memory divider ratios will be made available. Since the DRAM's frequency is linked to the frontside bus, dividers can help you achieve a higher CPU overclock without taxing the memory. Dividers available by FSB Strap include:
The biggest gaming news, reviews and hardware deals
Keep up to date with the most important stories and the best deals, as picked by the PC Gamer team.
- 200 (5:3, 2:1)
- 266 (5:4, 3:2, 2:1)
- 333 (1:1, 6:5, 8:5, 2:1)
- 400 (1:1, 4:3, 3:2, 2:1)
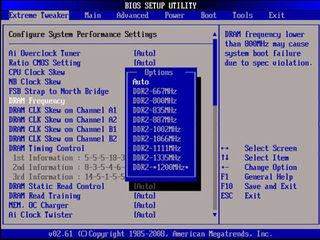
DRAM Frequency: This determines the frequency of your RAM. The settings available will depend on what FSB Strap you selected (see above).
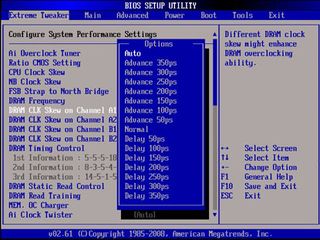
DRAM Clock Skew: Allows you to introduce a delay to the individual RAM slots to address timing issues. See CPU Clock Skew above.
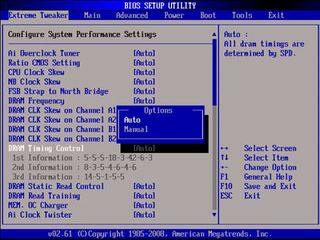
DRAM Timing Control: Lets you select whether you want the BIOS to automatically set your RAM's timings or if you want to manually input them yourself. See DRAM Timing for more information.
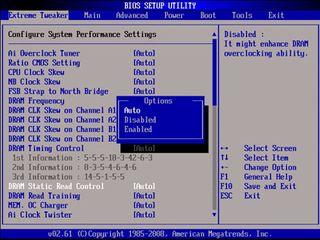
DRAM Static Read Control: This setting influences the overall memory access latency. In theory, enabling this setting can increase memory bandwidth.
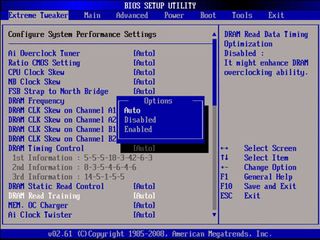
DRAM Read Training: Like the skew settings, this option supposedly optimizes DRAM timing.
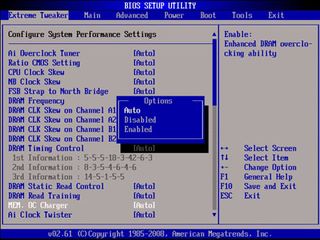
Mem. OC Charger: Intended to improve signal quality and, as a result, improve overclocking potential, not all memory modules play nice with this setting. And for the ones that do, Asus cautions not to expect any miracles.
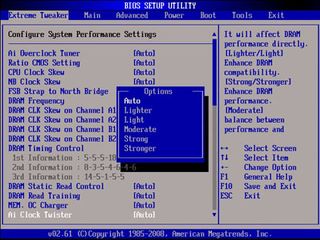
Ai Clock Twister: Used in conjunction with the Ai Overclock Tuner, this setting determines how aggressive the board will attempt to run your memory's latency timings.
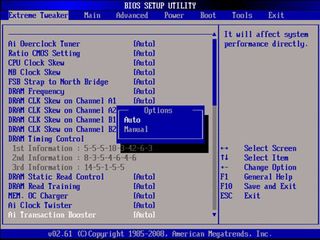
Ai Transaction Booster: Also known as Performance Level, this setting automatically adjusts parameters of the chipset to improve performace. The lower the number, the better the performance.
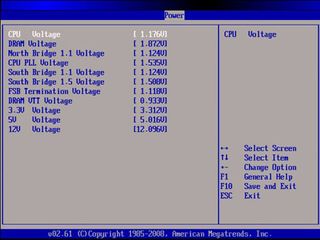
CPU Voltage: No big mystery here. As the name suggests, this is where you can adjust how much voltage gets pumped into your processor. Safe amounts will vary by processor, and even by different steppings of the same CPU, so be sure to thoroughly research before mucking with this setting.
CPU PLL Voltage: Determines the voltage applied to the CPU's internal clock generators. Overvolting this setting is a quick way to send your processor to the grave.
FSB Termination Voltage: This controls the voltage at the end of the frontside bus on the termination buffers. Increasing this can help with overclocking, however it also can result in instability, higher temps, and damage to your CPU.
DRAM Voltage: Determines the voltage for your memory modules. Safe amounts will vary by make and model. Generally speaking, DDR2 starts to get pretty hot at 2.3V and above and may require active cooling. Do your research and consult your memory kit's specs before manually adjusting the voltage.
North Bridge Voltage: Controls the voltage for your board's Northbridge (minus 1,000 geek points if you couldn't guess this one).
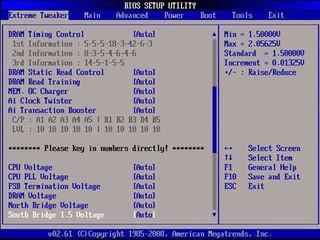
South Bridge 1.5 Voltage: Controls the voltage for the 1.5V line in your board's Southbridge, which is tied to the PCI-E bus.
South Bridge 1.1 Voltage: Controls the voltage for the 1.1V line from the Southbridge to the Northbridge, otherwise known as the base chipset voltage.
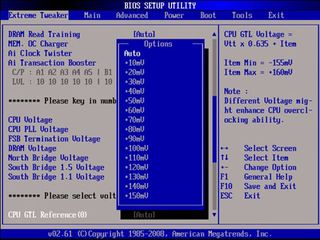
CPU GTL Reference: These setting represent advanced voltage options for the CPU's Gunning Transceiver Logic (GTL), which is an open drain, low power switching circuit. You can read more than you probably want know about the GTL here .
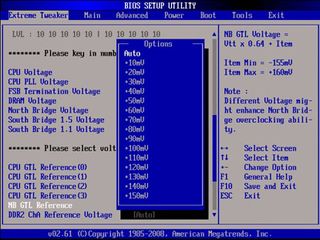
NB GTL Reference: Same as above, only in regards to the Northbridge.
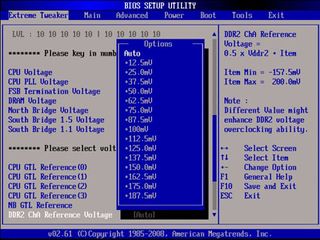
DDR2 ChA Reference Voltage: Allows you to individually tweak the voltage levels for each memory bank (not to be confused with each memory slot).
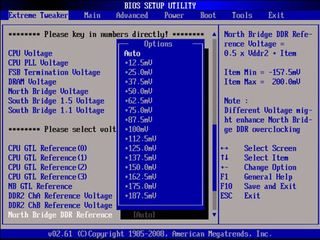
North Bridge DDR Reference: Provides a fixed voltage to the memory bus and can presumably help with stability.
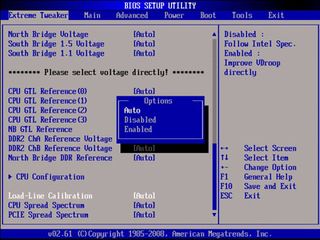
Load Line Calibration: Enabling this setting stabilizes voltage levels during both idle and load, reducing or eliminating vdroop altogether.
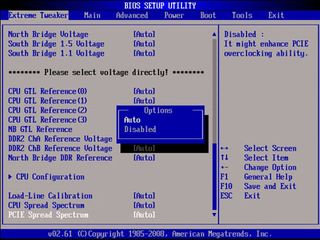
PCIE Spread Spectrum: Limits the electrical interference so that it stays within the FCC limit.
Most Popular


