How to take your PC audio experience to 11
We take a deep dive into the often unexplored area of the PC, the sound setup.
The Treatment
Our test room measures 14 feet by 25 feet. We decided to reach out to the pros Acoustic Geometry (a subsidiary of Acoustic Surfaces) to have our room treated. Acoustic Surfaces offers a huge selection of sound treatment products—you can get lost in its product catalog. If you're interested in soundproofing your room or studio, the company supplies products for doing that, too.
Reducing existing noises
The first step in our process was to significantly reduce the noise from our computer equipment. The ideal situation is to have those machines situated in another room, but in our case, this wasn't possible. We used a product from Acoustic Surfaces called the Echo Eliminator. The panels attach to the wall behind the machines via 3M double-sided adhesive and significantly reduce fan noise. Even if you're not trying to build a studio, you can reduce equipment noise to saner levels—especially if you sleep in the same area where you work.
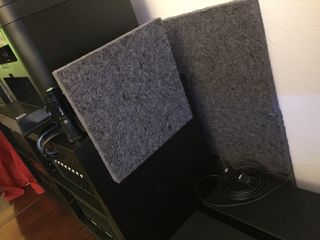
With the pads in place, the sound of our NAS setup was significantly reduced. The whirring sounds of fans were much less intrusive, and the whine of spinning hard drives was reduced as well. Our DBA mic was able to show a to 2dB drop in hum.
We also placed pads beside the PC to reduce its noise. Those who build quiet PCs will also be familiar with mass-loaded panels that can be adhered to the inside of the case panels, further reducing unwanted noise.
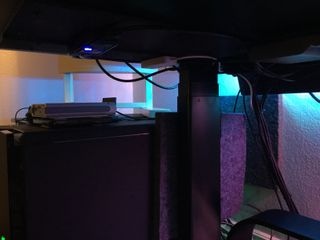
After significantly reducing our equipment hum, the final step was to treat the room itself. Treating your room is a process that takes a bit of time. You'll first have to determine where the reflection points are. To do that, grab a mirror and get someone to help you. Move the mirror along the walls and tell your partner to mark the point on the wall where you can see your speakers. These are the first and most damaging reflection points. Once you've marked the walls, you'll have full indications of where absorbers and diffusers should go.
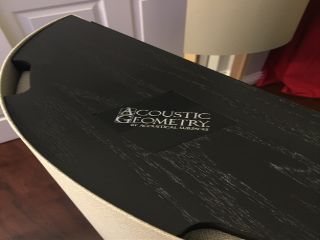
For our room size and purpose (listening, and not recording), we decided to go with Acoustic Surfaces' curved diffusers. These diffusers are large and stand tall, but come in two different widths. We received both small and medium size diffusers. The best part of the curved diffusers is that they both absorb and scatter sound waves, thereby keeping the general characteristics of our room for a pleasant listening environment. What frequency ranges do the diffusers affect?
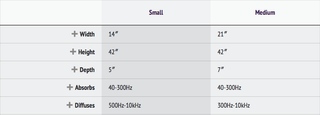
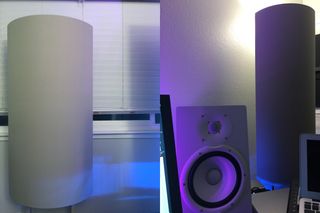
In our arrangement, two small diffusers stand vertically on either side of the monitors. We then placed two medium vertically standing diffusers directly on either side of our listening position, which is where the most sound flutter occurs. Finally, a medium diffuser was placed horizontally behind our listening position.
The biggest gaming news, reviews and hardware deals
Keep up to date with the most important stories and the best deals, as picked by the PC Gamer team.
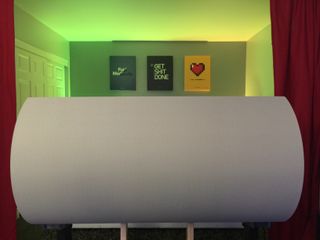
If you want to go further, ceiling absorbers can also be installed, since a ceiling is a large reflecting surface as well. You might also want to consider placing absorber panels behind the monitors. If you want to control your low frequencies further, you can place bass traps in the corners of your room. Room corners are referred to as trihedral corners because they connect three different wall surfaces. Dihedral corners are where side walls connect. Studios typically deploy bass traps to reduce the "boomy" effect, especially if you're using a subwoofer that's placed near a room corner. The goal is to ensure your subwoofer is producing tight, responsive, and clear musical bass.
Most Popular


