10 Sweet GIMP Photo Editing Tricks to Wean You Off Photoshop
Sharpen (Literally) Your Photo Editing Skills
Ever wonder how pro photographers manage to make their photos look better than the real thing? Part of the answer lies in post processing. Of course, adequate lighting, a good camera, and experience all play a part as well, but you can clean up almost any photo with just a few simple steps.
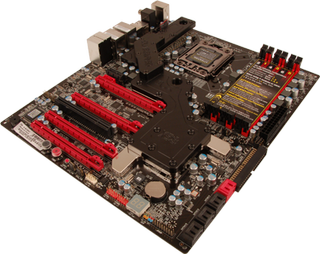
Snapshots of electronics clean up particularly, allowing you to post lust-worthy pics of your setup on your favorite computer forum or auction site. For this example, we're using an image of an EVGA X58 Classified motherboard. The colors appear a little dark and lackluster, so we're going to address that first.
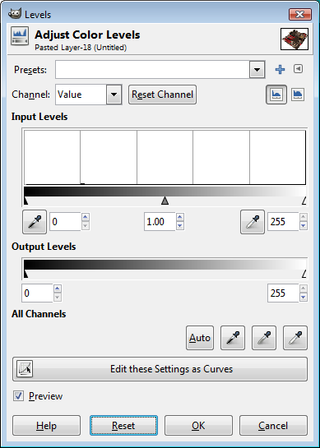
Navigate to Colors and select Levels. You'll notice a histogram, which tells you how the pixels are distributed. If most of the action in the histogram is to the left, then your image is probably dark and underexposed. If they're to the right, then the picture may be too bright. A perfect shot will show most of the action in the middle.
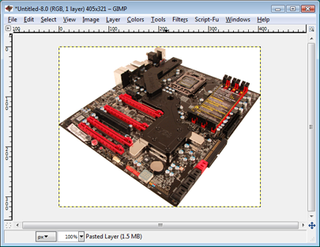
What we want to do with this photo is lighten it up and get rid of the haze. Click the triangle on the right side of the graph and move it left. Keep doing this until the colors start to go out of whack, then back off slightly. When you're finished, make sure the image is noticeably brighter than when you first started. For this example, we decreased the white level from 255 to 222.
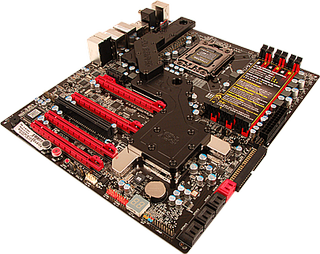
Now that we've lightened the image, it's time to make it pop. To do this, navigate to Filters>Enhance>Sharpen. The more you sharpen the image, the more lively it will look, but be careful not to overdo it or you'll end up with a swirl of colors. We settled on a value of 60, which over exaggerates the details - just the effect we were going for!
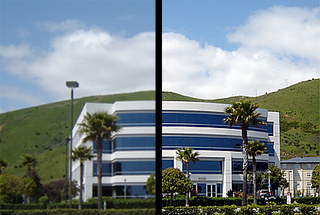
While this trick doesn't always work well with text-heavy photos or screen grabs, it does do a good job with outside scenes, especially where vibrant colors are involved, like a blue sky or lush vegetation. Notice in the above photo of our workplace how the right side -- the side we cleaned up -- looks much less blurry and vibrant than the untouched left portion. If you look close enough, you might even spot Wil giving an intern a verbal lashing - a typical Monday morning!
Make Your Own Custom Brushes
GIMP comes with a variety of brush styles to choose from, including various sized circles, splatters, and even a green pepper, but you can create any style brush you want. Here's how.
The biggest gaming news, reviews and hardware deals
Keep up to date with the most important stories and the best deals, as picked by the PC Gamer team.
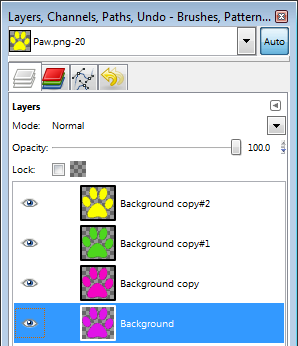
First, create a new transparent image sized to however large you want the brush to be. In this case, we're going to create a 70x70 image. Paste or draw whatever you want the brush to be (we used a cat's paw). Duplicate the layer (Layer>Duplicate Layer) one time for each color you want to use, then use the Paintbrush or Bucket Fill tool to make the image a different color in each layer.
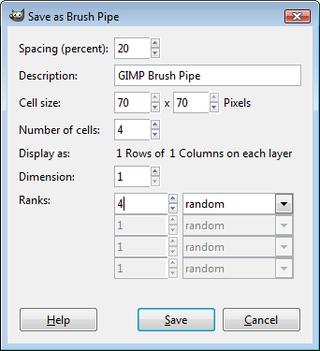
Now comes the semi-tricky part. Because we're using four multicolored layers, we want to save our image as an animated brush. Save your image using the .gih file format, and in the 'Save as Brush Type' dialog box that appears, change the Ranks number to 4, or equal to however many layers you created.
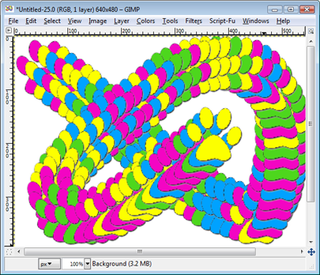
Save or move your newly created brush to C:\Program Files (x86)\GIMP-2.0\share\gimp\2.0\brushes . No need to close and reload GIMP - just click the Refresh brush button in the lower right corner of the brush menu and you're good to go!
Most Popular


